Rainy Day Art Project
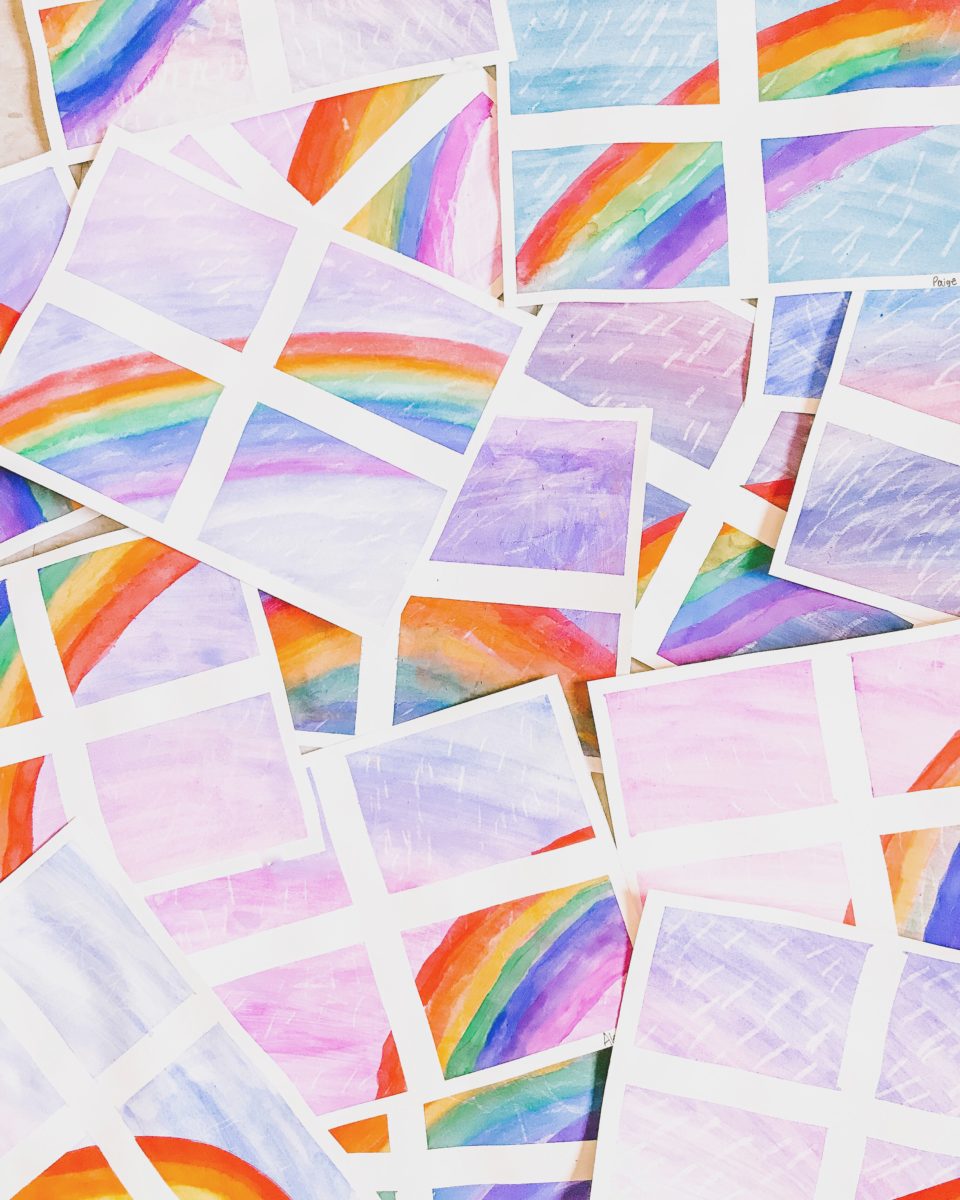
A few weeks ago I posted these adorable watercolour art pieces and lots of you requested I share how I did them. SO, as always… your wish is my command! And trust me, they’re super easy even if you have no art experience.
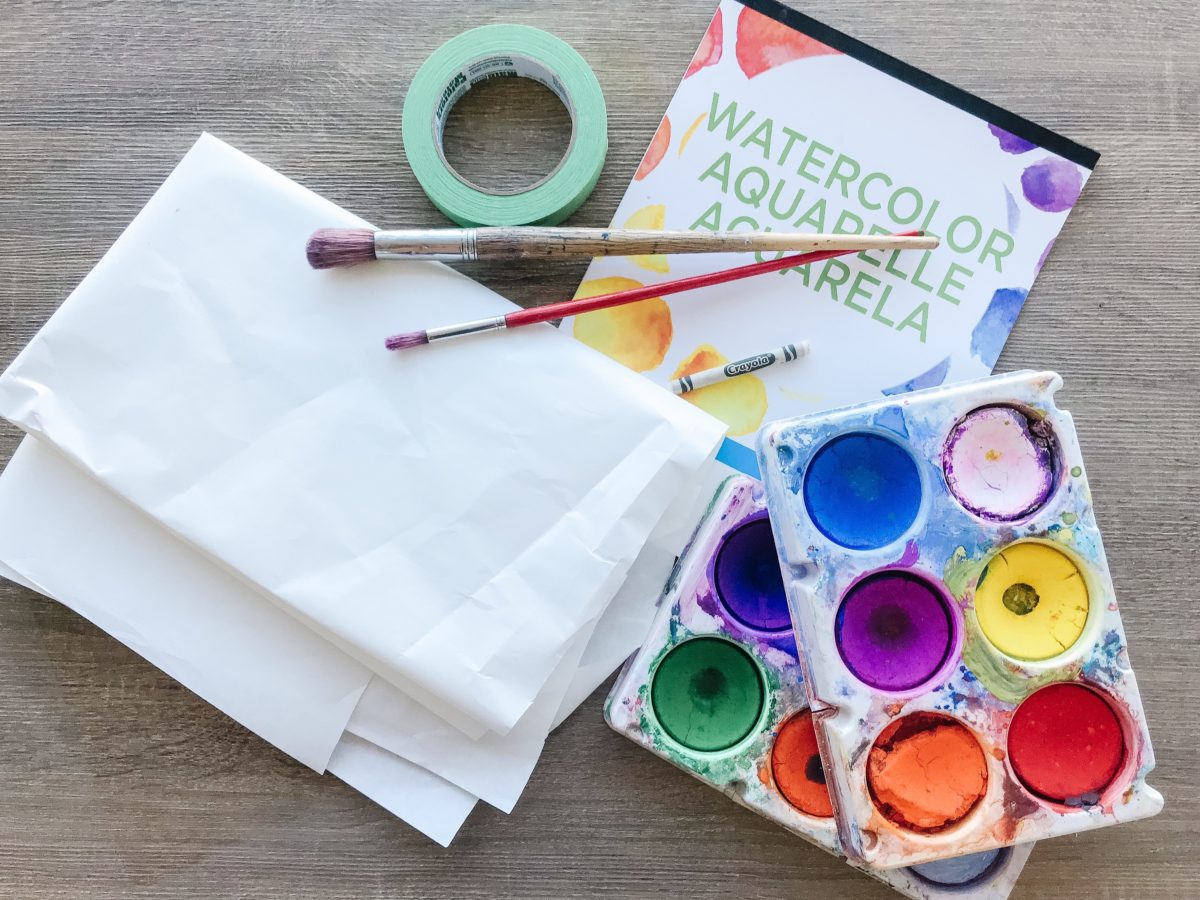
Materials:
-watercolour paper – this is super important otherwise the art will just curl up. You don’t need to buy expensive stuff. I always buy the stuff from the kids section at Michaels and then use my 40% off coupon! I think I paid $12 for a package of 50 sheets the last time.
-paint – I just use the disk paints from our school
-brushes
-newspaper or any scrap paper to keep your surface clean
– painters tape
– a white crayon
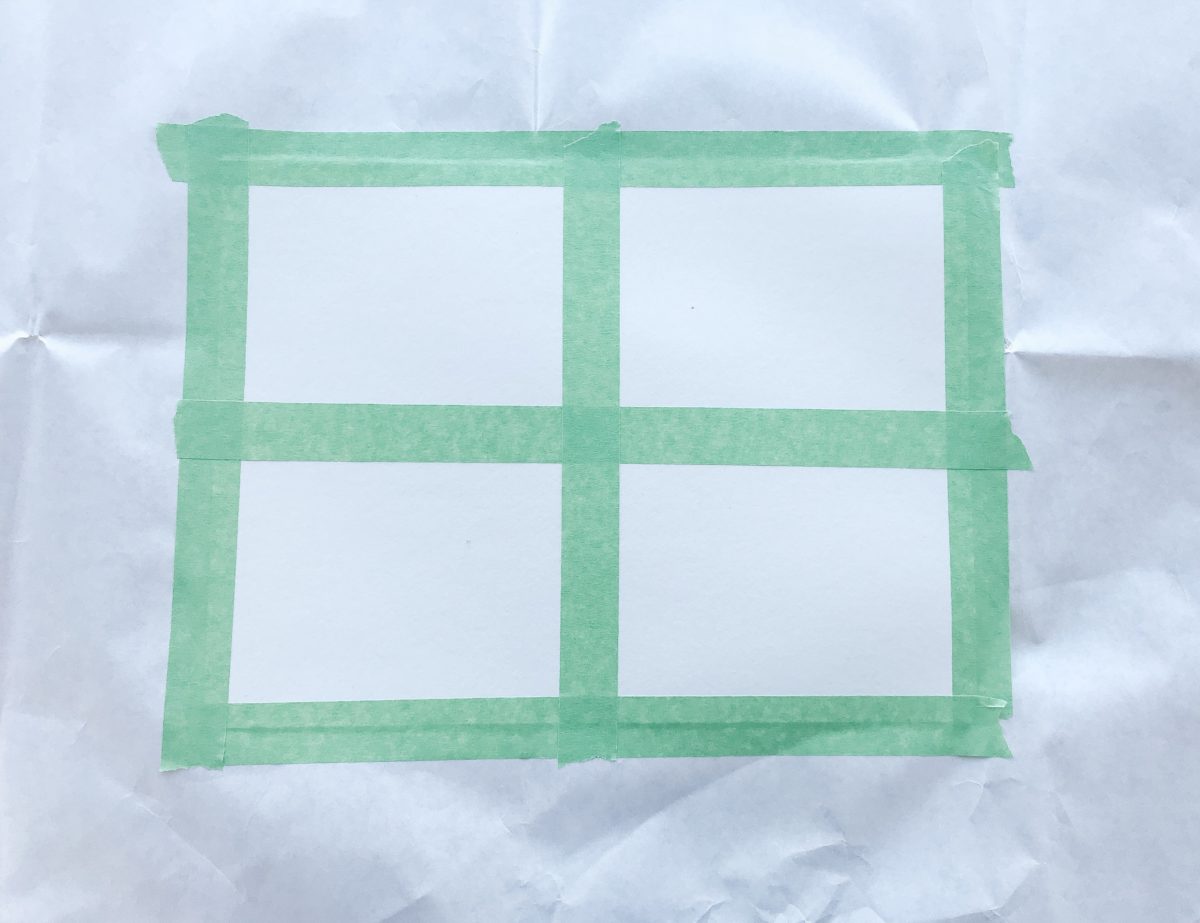
PREP:
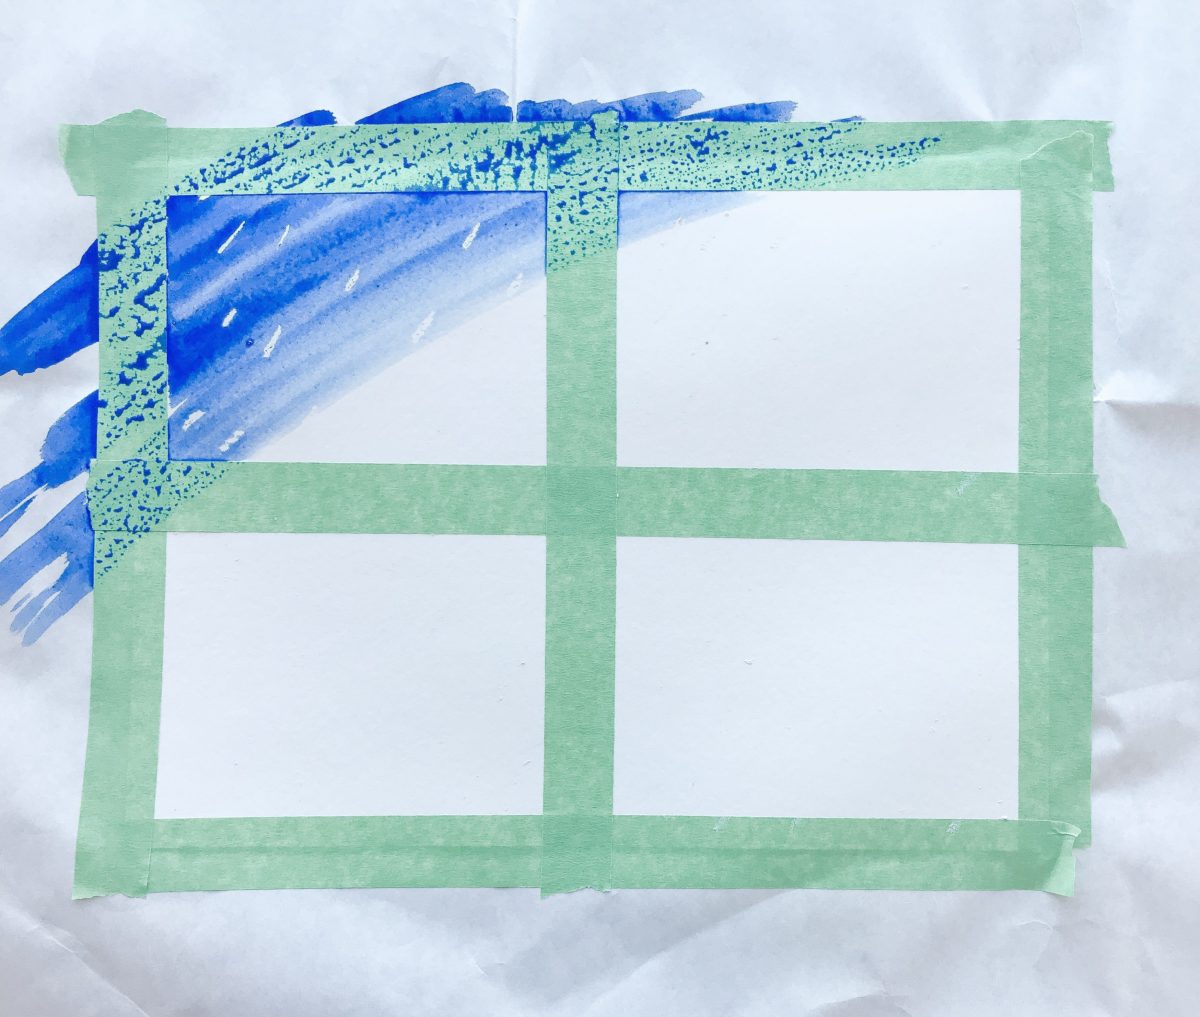
Tape the paper. If you teach primary grades like I do, this is something you will need to do yourself before the students come. If you teach older grades, I think they should be able to handle this step!
Step 1:
*optional but such a good way to start the lesson: Read the story Sky Color by Peter H. Reynolds
Step 2:
Students will take the white crayon and make the raindrops. I encouraged my students to make their raindrops go all the same way as if the wind is blowing the raindrops. I’m not going to lie, this was very hard for some of them because you can’t see the white crayons until after you start to paint. Regardless, they all turned out beautiful!
Step 3:
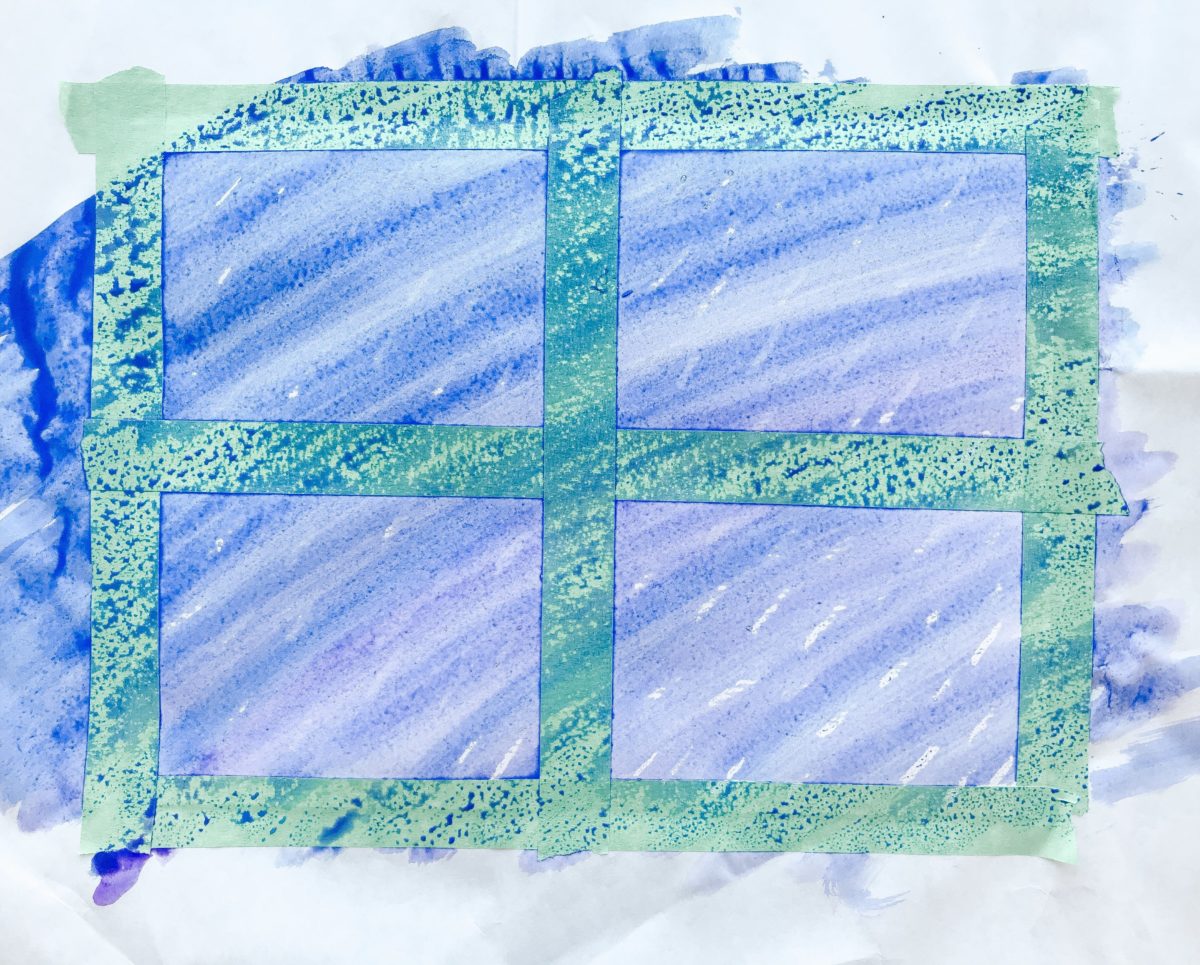
Tell the students to try to stick to one or two colours for the sky. I found if I let them get too crazy with the sky colours they just turned brown. Also, remind them you want the rainbow to stand out so they will get to use ALL the colours then! I gave them some colour combination ideas: blue & purple, yellow & orange, pink & purple, etc.
Next, students wet the paintbrush and mix it in the puck paint. Remind students that they will need lots of water. Typically, we tell them the opposite because we are usually using regular paper which will wreck if it gets too wet, but not today! Lots of water… this is watercolour painting! I had to continually go around and remind them to keep their brush nice and wet.
It is important that students know to treat the paper as one piece. I had many students wanting to paint each individual square. I eventually told them to just ignore the green tape and to pretend that it wasn’t there encouraging them to make big long strokes horizontally / diagonally on the paper.
Step 4:
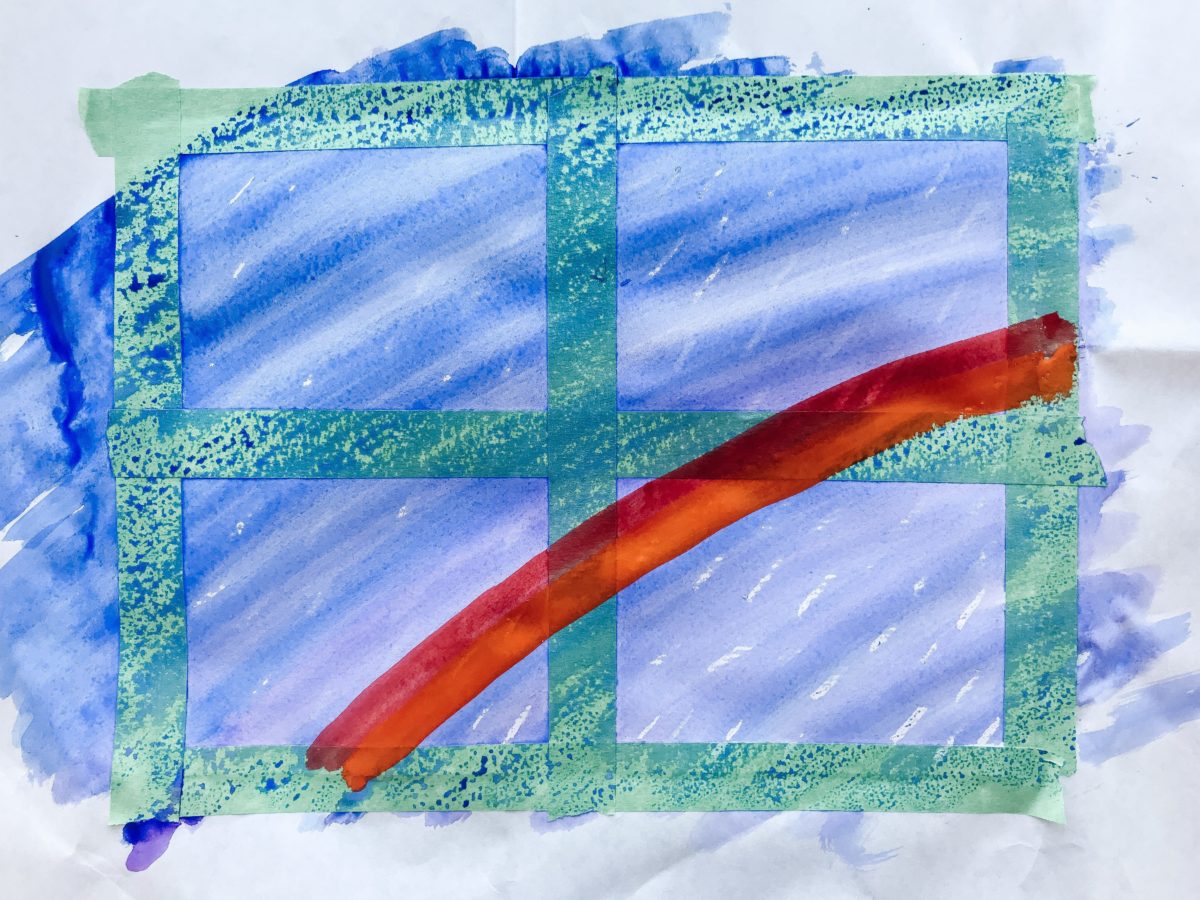
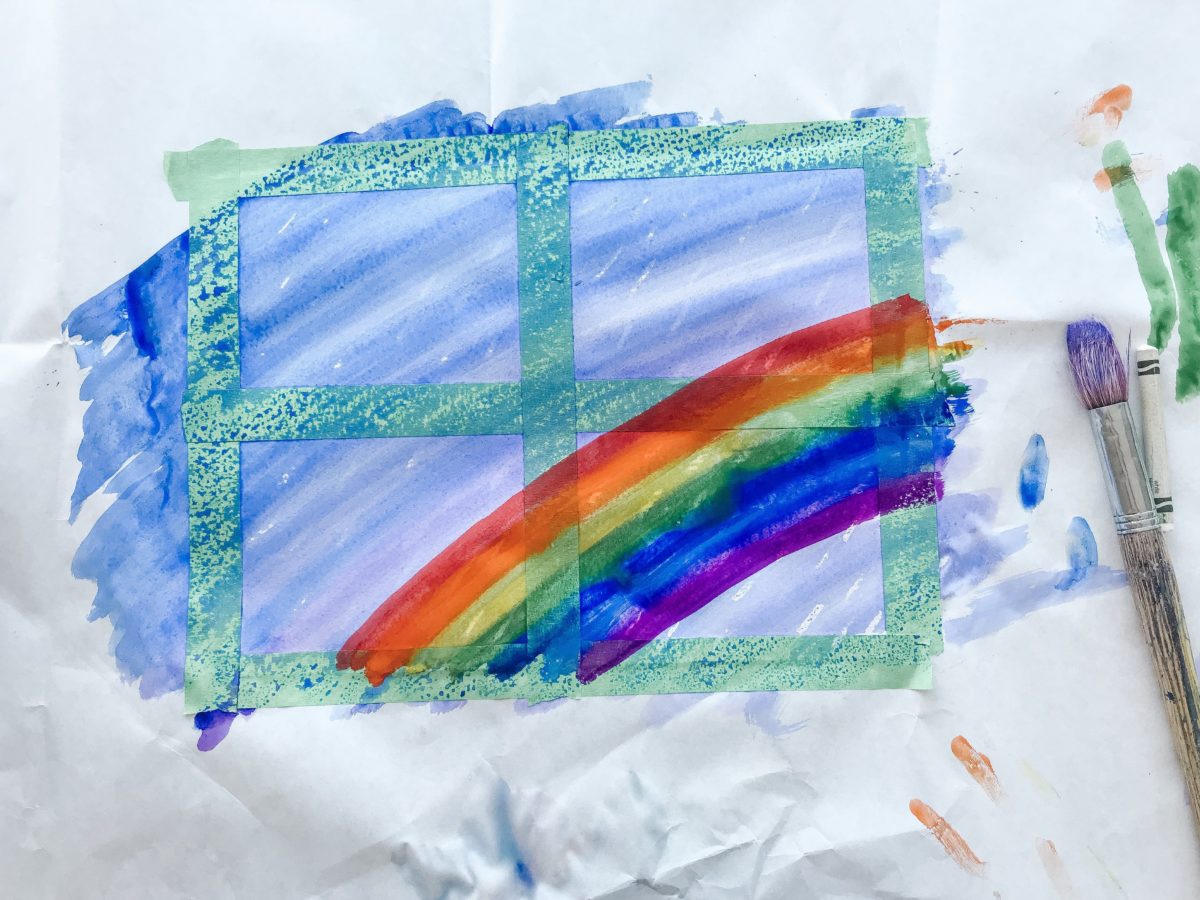
Let the pieces dry slightly. They don’t need to be 100% dry but just enough so that the colours from the background don’t mix with the rainbow colours. Have students paint the rainbows. Remind them to rinse their brush between each colour. This part is pretty straight forward. Just remind them that they are ignoring the taped lines and painting the rainbow right over top!
Step 5:
Let the pieces dry completely then slowly peel off the tape to reveal the masterpieces!!
*If you’re wanting to take this project a step further and add some literacy in, have you students write about their favourite rainy day activity!
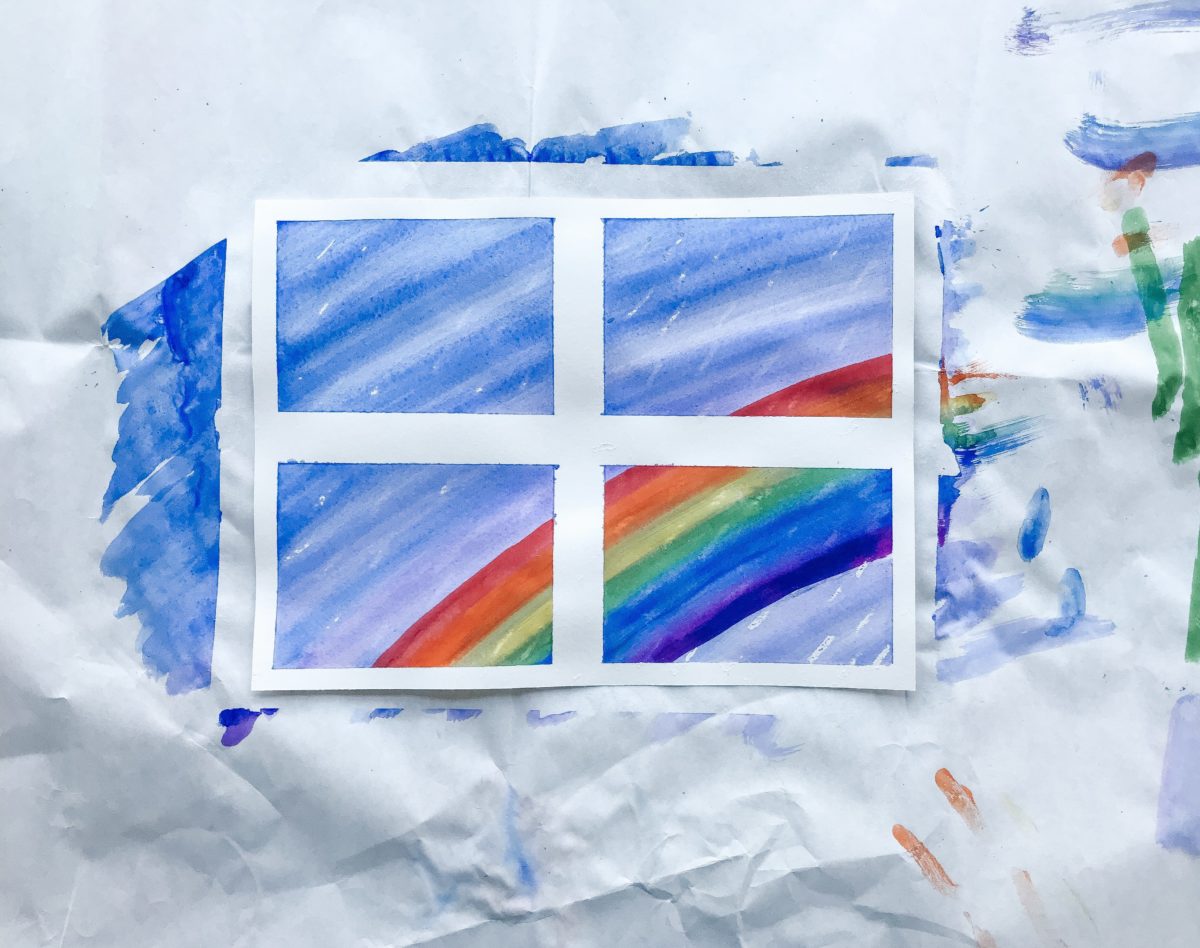
VOILA!
Super easy and so pretty! I am constantly getting compliments on my bulletin board of them!
If you decide to try this with your class/ kiddos, please tag me so I can see their masterpieces 🙂